
3. Creating and managing content
Your CMS gives you two ways to edit content that’s already on your site:
- Right on your live web page
- Within your Collection items tab
I'll walk you through both (extremely simple) ways to edit, starting with on-page editing.
On-page editing
Editing right on the page is pretty intuitive with your CMS, but there are a few things to know.
Editing text
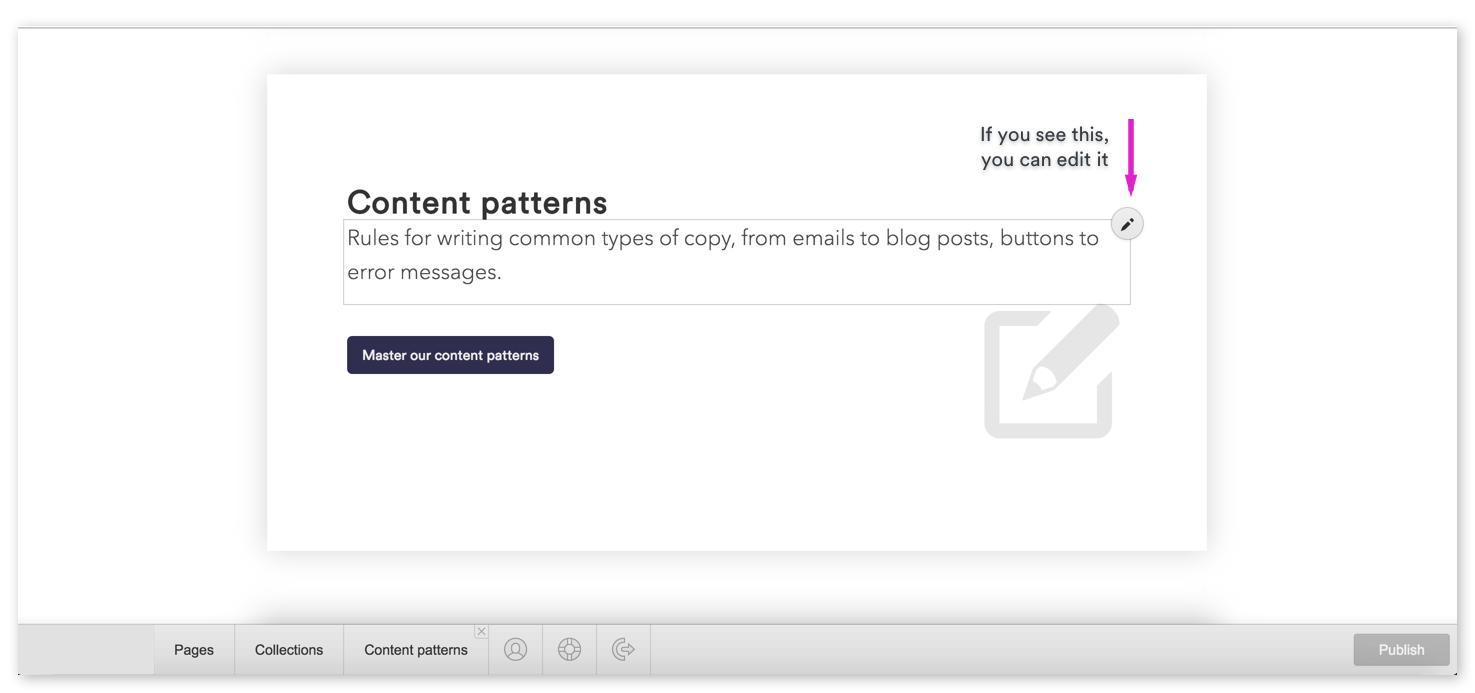
When you first log in to your CMS, you’ll see your live website with the CMS panel (the grey bar) collapsed at the bottom of your screen.
If you see some text you want to edit, just hover your cursor over it. If a light grey outline with a pencil icon in the upper right appears, you can edit that content. Just click into the box and start typing!
Editing text works just like it does in Microsoft Word or Google Docs, but styling your text — bolding, italicizing, etc. — works just a little differently. (Though if you’ve used Medium, it’ll feel pretty familiar.)
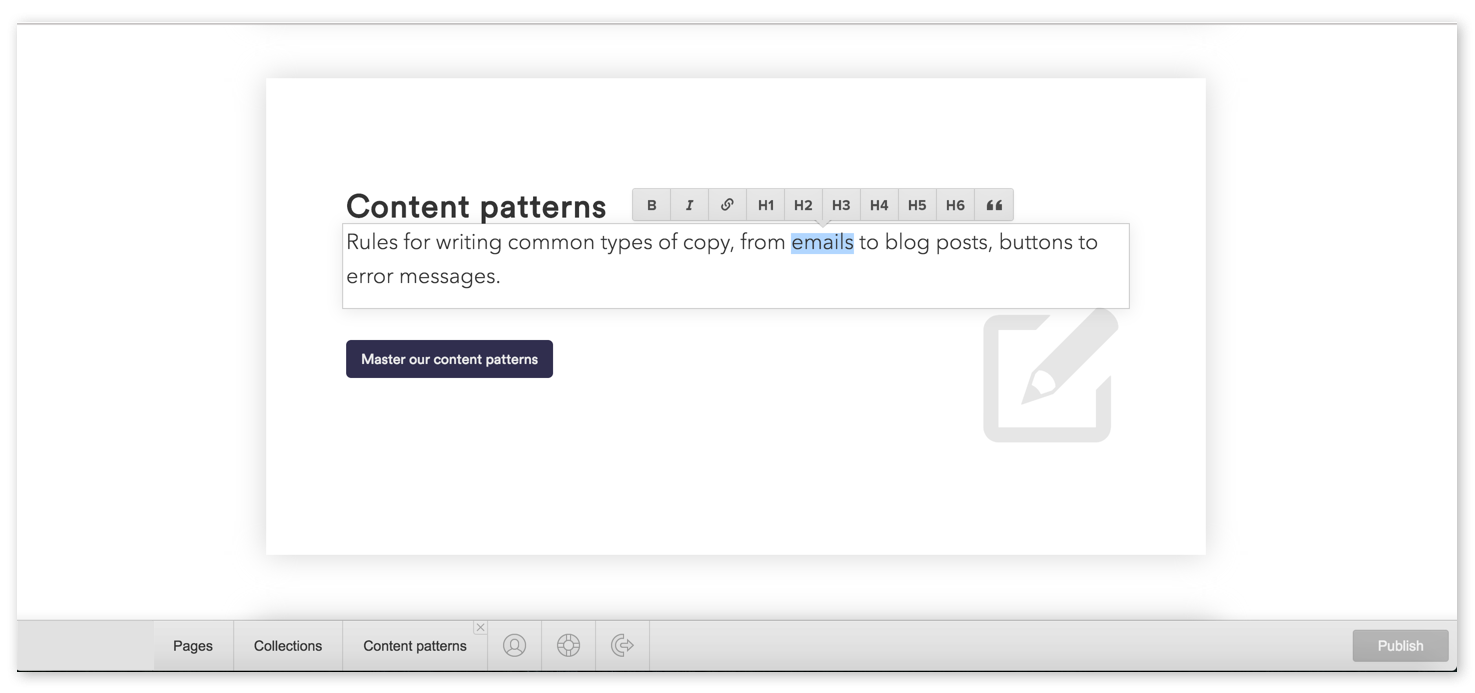
To style text, first select it. A grey toolbar will then pop up, giving you the following options:
- B to bold
- I to italicize
- Chain link icon to insert a link
- H1–H6 to create the various levels of headings. The number indicates the level of importance of each heading, with H1 being most important, and H6 the least important. In the images in this section, the phrase “Content patterns” is an H2. Note that most pages only have one H1, so you probably won’t use that often.
- “ to create a block quote. This is best used for lengthy quotations.
You can also style text with the following key combinations:
- Command/Control + B to bold
- Command/Control + I to italicize
- Command/Control + K to insert a link
To use a key combination, just press and hold Command (on Mac) / Control (on Windows), then press the letter key (B, I, or K), then release.
Note: Sometimes, a text field will give you fewer options than those listed above. This was likely done intentionally, but if you need more styling options, let me know!
Inserting links
Your CMS allows you to add a variety of link types to achieve various different functionalities.
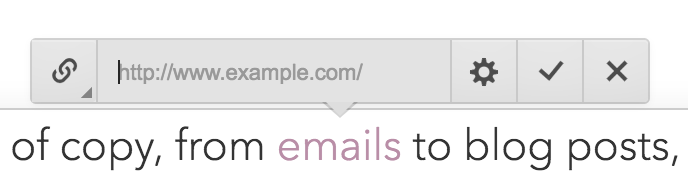
When you go to insert a link, the toolbar defaults to entering a URL to link to, but if you click the link icon on the left, you can select from several other options:
- External: links a visitor to another page on the web, often on another website, but you can also use this to link to another page of your own site.
- Page: links a visitor to another page of your site. You’ll see a dropdown list of your site’s pages listed here.
- Section: links a visitor to another section of the same page they’re currently viewing. You’ll see a dropdown list of your page’s sections listed here.
- Email: links a visitor to their default email app so they can write an email to the address you specify.
- Tel: allows a visitor to place a call to the phone number you specify. This is especially useful for people visiting your site from a mobile device.
Each link type offers its own customization options. Click the gear icon to see what’s available for your current link type.
More text editing options
Some areas of text on your website (typically longer passages) will allow for additional options.

When you press enter/return to start a new paragraph, you may see a small + icon. Click it to open the toolbar and see the following options.
Allows you to upload an image.
Allows you to insert a video. This must be a video hosted on a platform like YouTube or Vimeo — you can’t upload a video file from your computer.

Allows you to embed “rich media,” via a link. There are all sorts of objects you can embed using this feature, but here a few of the most popular:
- Imgur albums
- Google maps
- Scribd books
- SlideShare presentations
- Giphy GIFs
- SoundCloud audio

Allows you to add a bulleted list.

Allows you to add a numbered list.
Everything you’ve just read about editing text on the page also applies when you’re in the Items tab of the CMS.
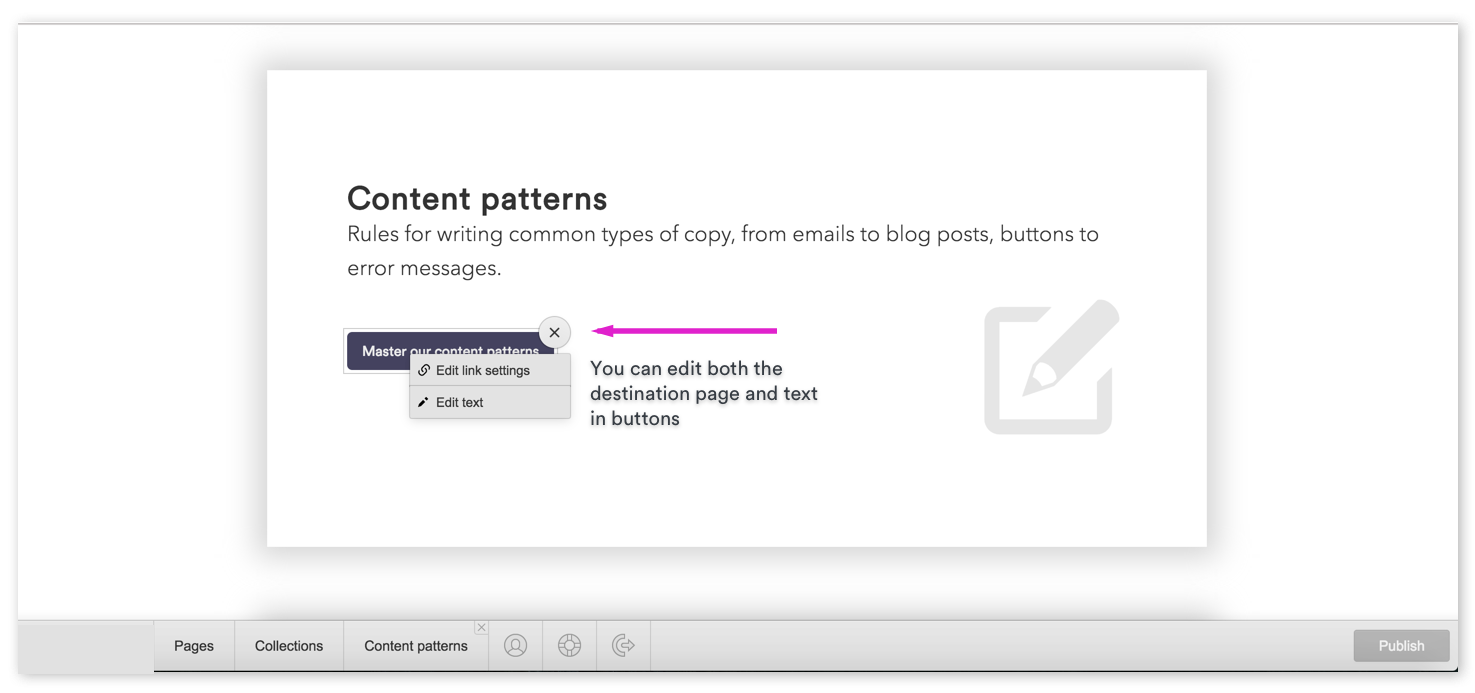
Editing buttons
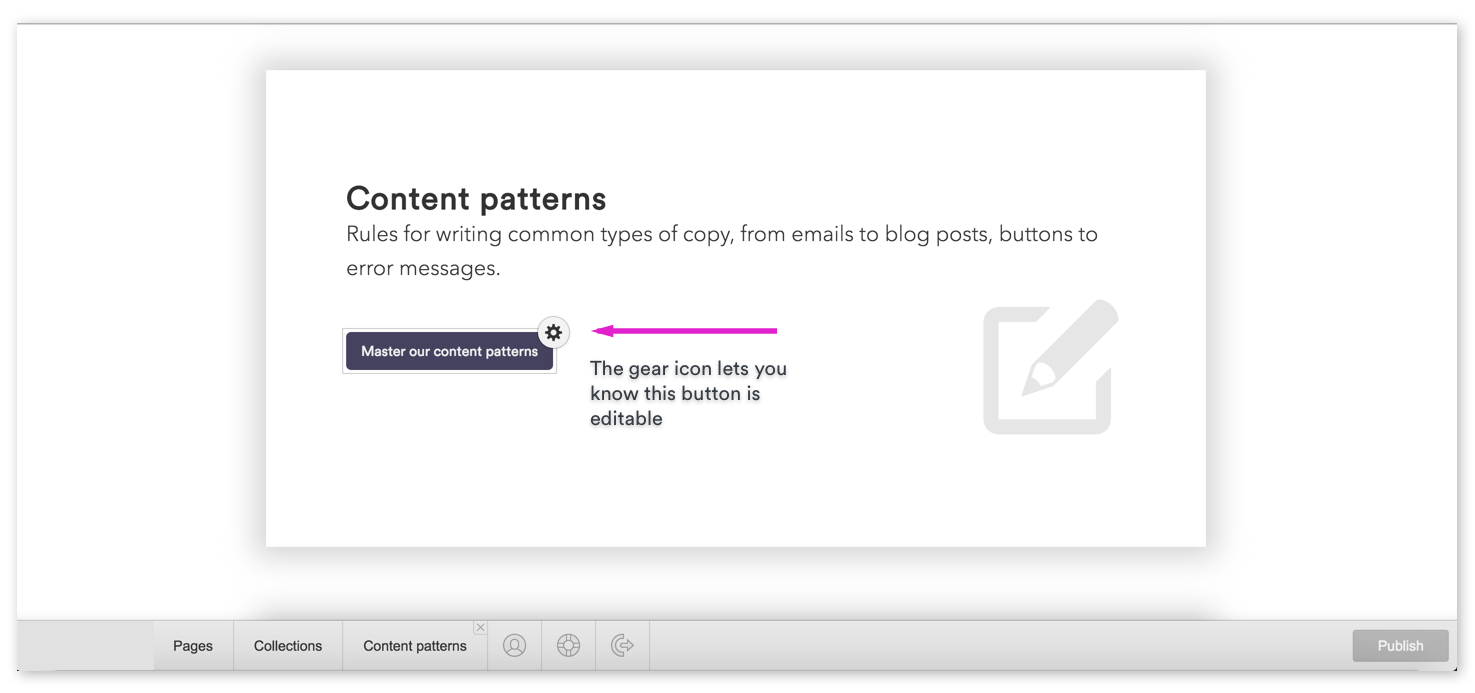
You can also edit buttons in the CMS. Just hover your cursor over the button and look for a gear icon in the upper right. Click the gear icon and you’ll see two options:
- Edit link settings lets you update the page the button takes viewers to.
- Edit text lets you change the text within the button.
Editing images

You can also replace images on your site with the CMS. Just hover your cursor over the image you want to update, then click the picture icon.
This will open your computer’s file finder, where you can select any image you’d like.
Note: Sometimes, certain visual styles will automatically apply to the image you upload, so don’t be surprised if your image suddenly changes size, acquires a colored border or shadow, etc.
Managing Collection items in bulk
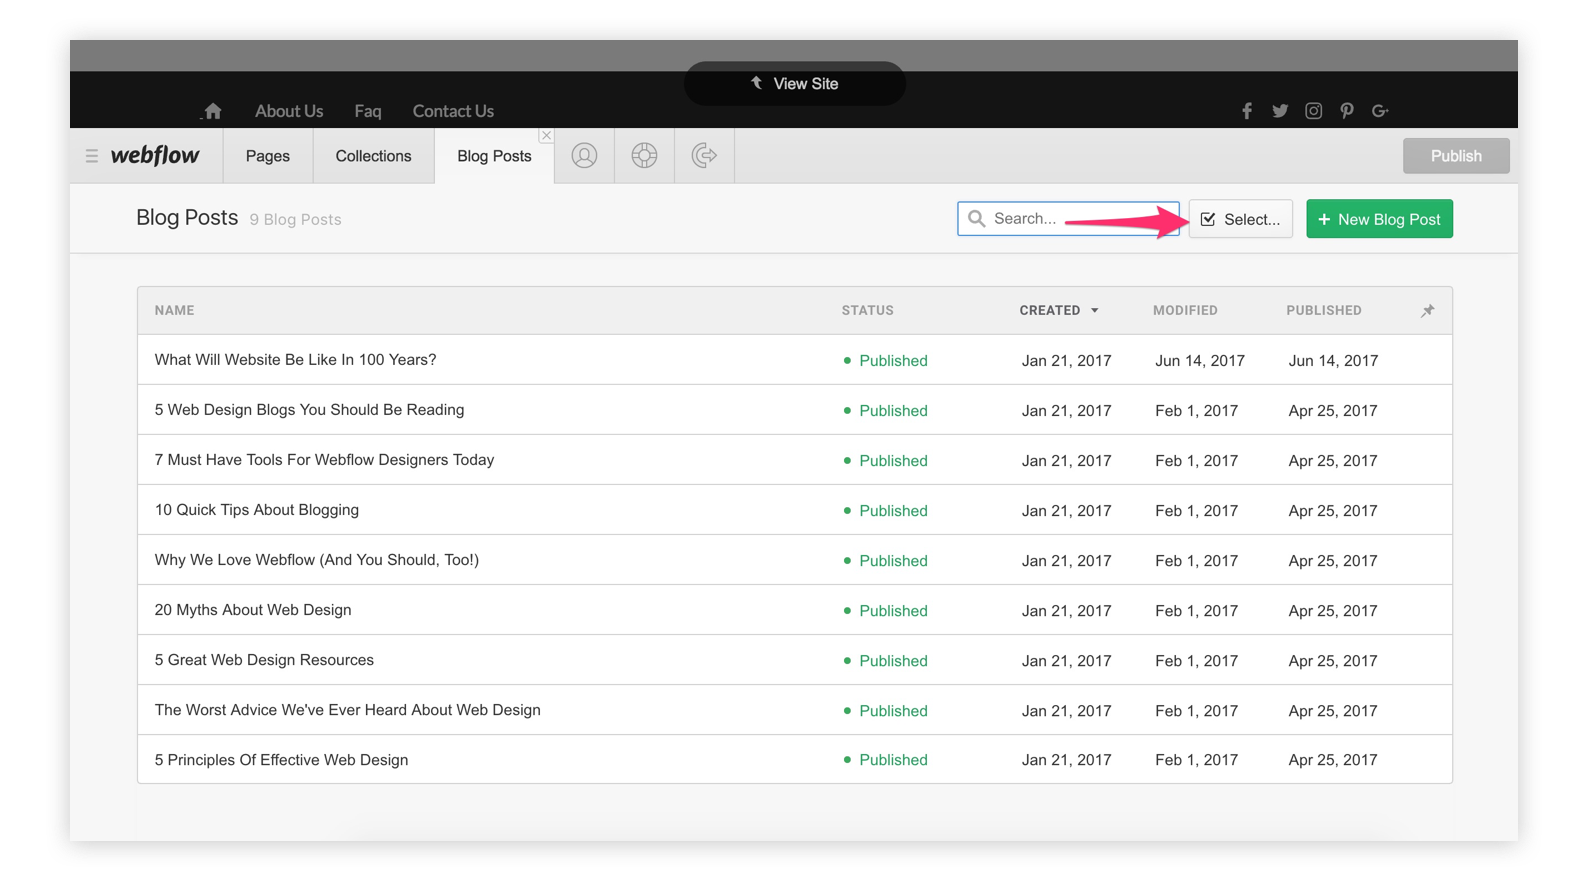
Sometimes you'll want to delete, archive, or publish several items all at the same time. In those moments, you can click the Select... button to change the status of multiple items, just like in Gmail. This can be especially handy if you want to publish multiple connected connected pieces (such as a series of articles) all at once.
Creating new content
You can use your CMS to produce new content through any of your Collections, so it’s super easy to create a new blog post, menu item, product or service page — whatever your Collections enable!
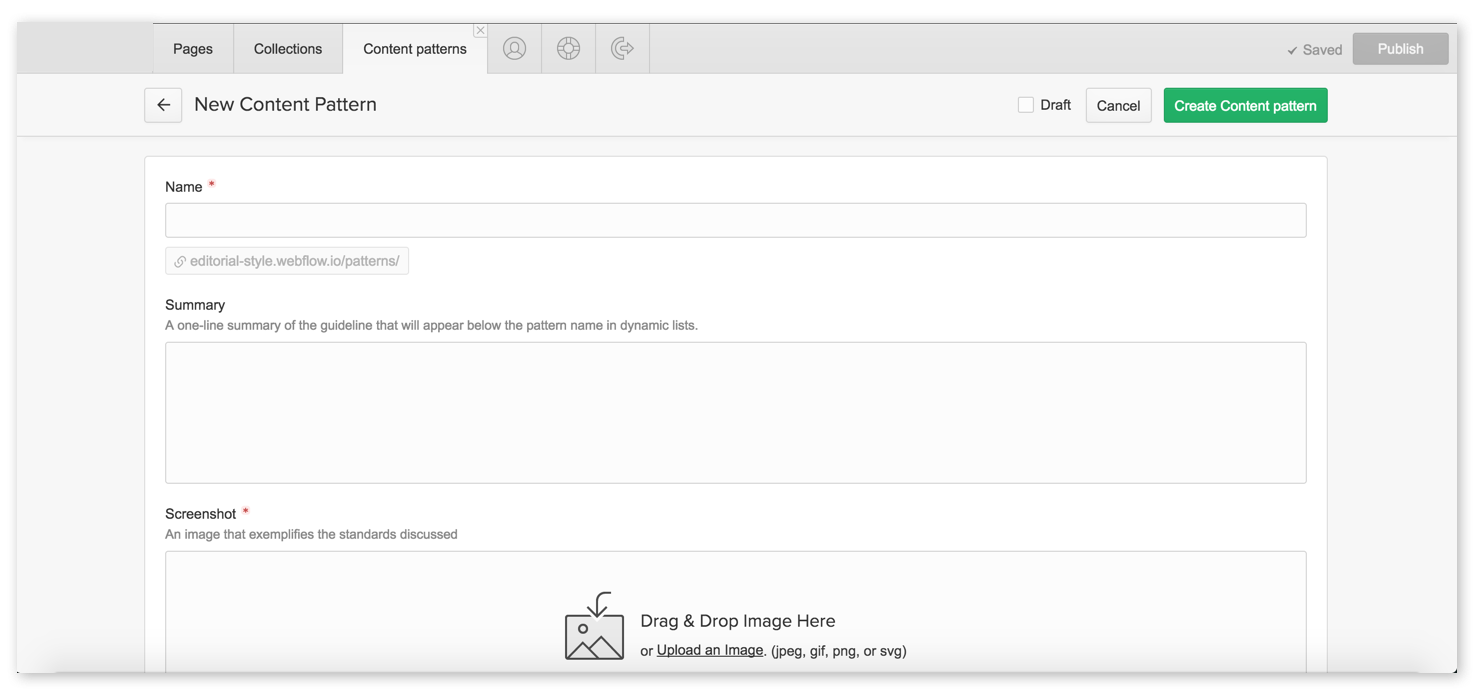
This should all be fairly intuitive, and the labels and descriptive text for each field should also help you out immensely. But there are a few things worth calling out:
The Name field
The Name field is a default for all Collections, and it typically does triple-duty as:
- The item’s title on your website
- The source of the item’s URL on the web
- The item’s title within the CMS
There may, however, be separate fields for items 1 and 2.
Image fields
Anywhere you see “Drag & Drop Image Here,” you’re looking at an image field. You can either drag an image from another app on your computer into the CMS, or click the “Upload an Image” link to upload it through your computer’s file management system.
Note that your CMS can’t handle image files over 4MB. If your file is bigger than that, you can use Photoshop or an online tool like TinyPNG or Compressor to get your files under that threshold. Just keep in mind that the larger the image, the longer it takes to load, so try to get your images as small as possible without losing quality.
It’s also up to you to ensure that you have the right to use any images on your website.
Reference fields
If you see any fields with a magnifying glass icon on the right, your Collection has a Reference or Multi-Reference field. This allows you to import content from one Collection into another, which can be used to power things like categories and tags (common blog features).
To use a Reference field, just click into the field and selected the right reference for your new item. If you don’t see the right reference for your new page, you may need to create a new item in the Collection this field references.
This may be explained in the help text for your Collection item, but if it isn’t, contact me for help.
Option field
The Option field works similarly to References, but isn’t connected to another Collection item. So you can just click into the field and pick the right option for the new content. If you need a new Option to fit your content, contact me.
Video field
The video field lets you add a video to your new content. It works by pulling your content from a public video host like YouTube or Vimeo, so you can’t just upload a video file. If you have a video file you want on your site, upload it to YouTube or another service, then just copy and paste the URL into the Video field.
Note: you don’t need the embed code generated by services like YouTube, just the URL.
Switch field
The Switch field is a simple on/off, yes/no toggle that enables or disables functionality on your website. If you’re not sure how this works on your site, ask me.
Color field
The Color field allows you to add a splash of color to your content in a way that your site’s designer defines. The field itself allows you to choose a color visually, from the picker, or to enter what’s called a “hex code” — a numeric representation of the color.
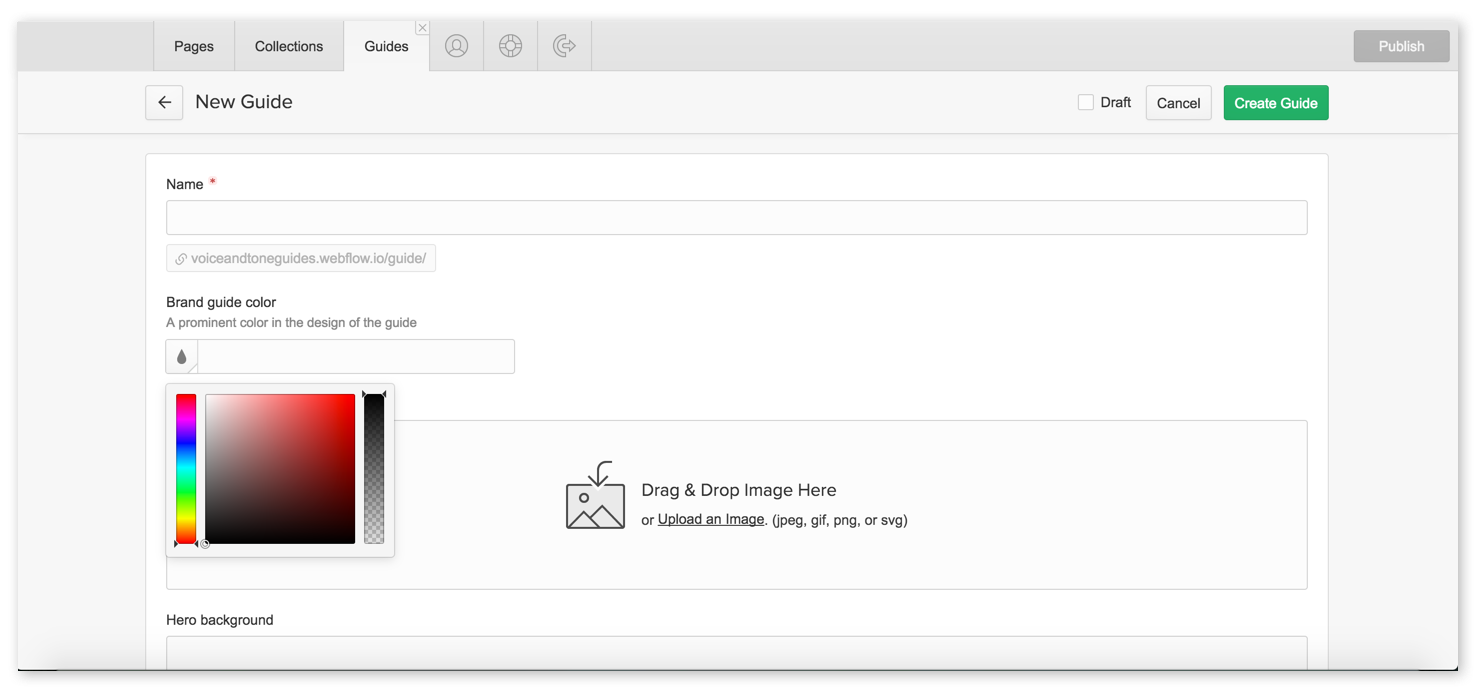
Using the color picker can take a little getting used to at first, but you’ll get the hang of it quickly. The bar on the left represents the whole spectrum of available colors — clicking here will update the color swatch in the middle to a range of tones in the area you clicked. The middle area is where you’ll choose the exact color you want. The bar on the right represents the color’s opacity, which controls how transparent the color is.
If you'll be working with color on your site a lot, you might want to grab the Chrome / Firefox plugin ColorZilla, which essentially lets you copy any color you see on the web to then paste into the color picker.
Managing your editorial workflow
If you’re the only person working with the CMS on your website, you’ll get along just fine writing, editing, and publishing, all within the CMS.
But if your writing and editing team is larger than one, you’ll probably want to use a different tool for writing, sharing, editing, and collaborating on content.
Why? Well, there are two big reasons:
- Most writing tools offer more detailed collaboration and editing options, like track changes and commenting
- It's always good to have backup copies of anything you publish on your website (just in case someone accidentally deletes something)
Recommended writing and editing tools
Here are a few writing tools that offer a great writing experience, easy collaboration with others, and work well with your CMS, in that you won’t lose formatting when you copy and paste content from them into the CMS.
I do not recommend using Microsoft Word.
Handy key shortcuts
Writing gets a lot faster when you can keep your fingers on the keys. These key combinations help you do that:
- Command/Control + B to bold
- Command/Control + I to italicize
- Command/Control + K to insert a link
- Command/Control + Z to undo what you just did
Use Command on Macs, and Control on Windows.