1. Getting started
Taking control of your beautiful new website starts with accessing its built-in content management system (CMS for short). And that process usually starts with an email from your website’s designer.
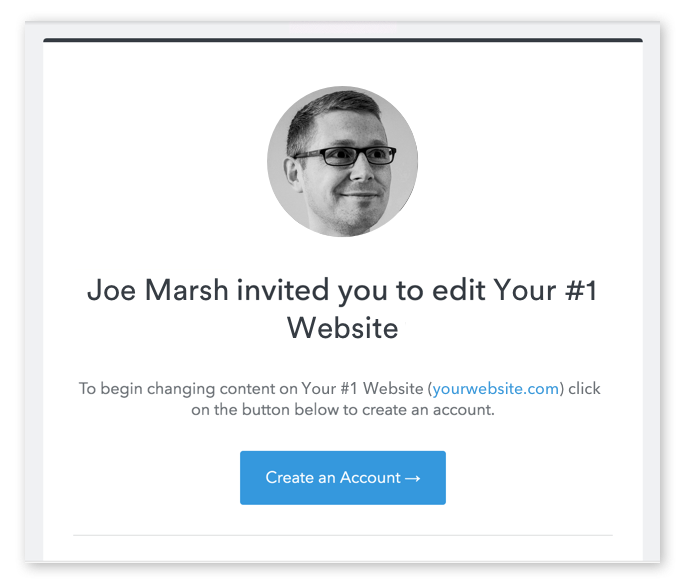
It probably looks a bit like this:

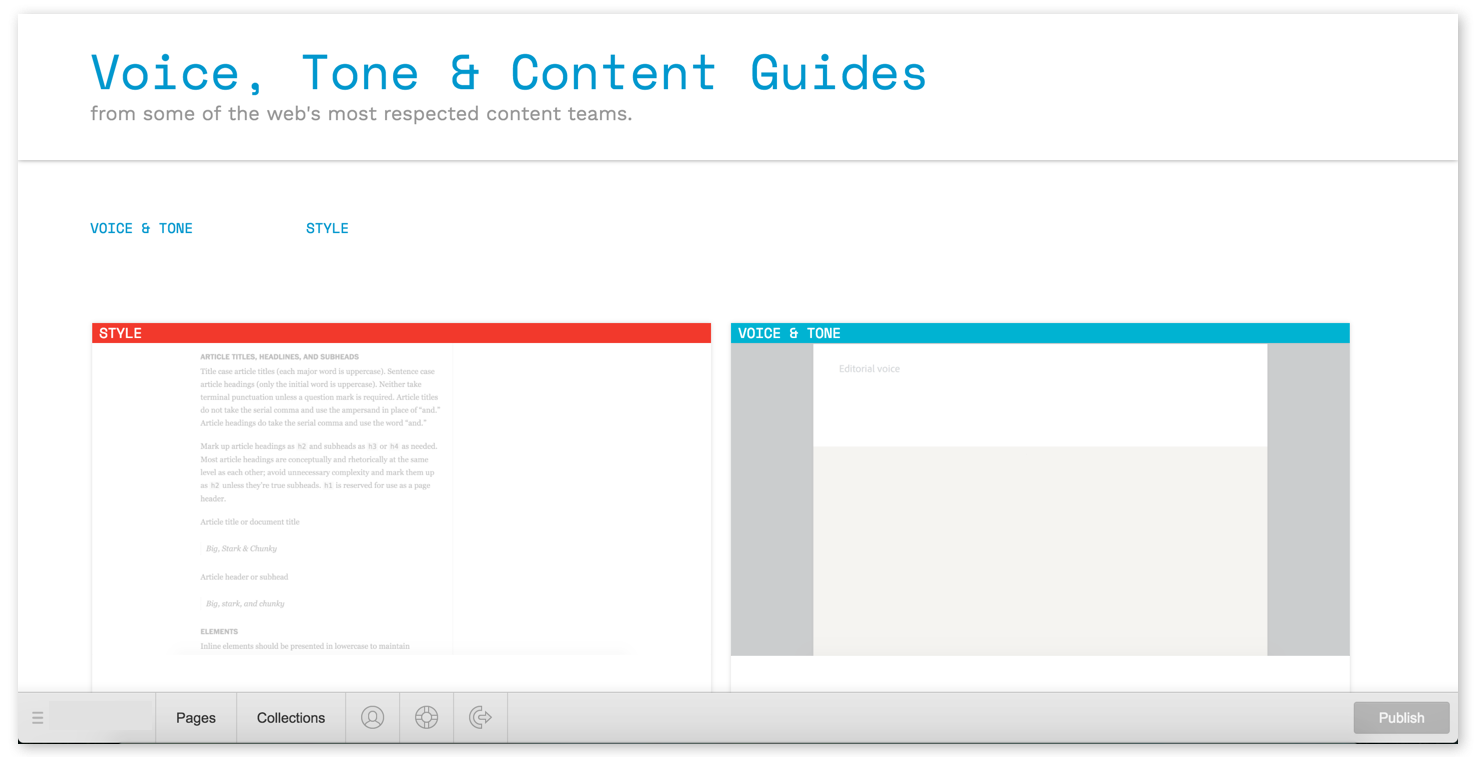
When you click that button, you’ll be taken to your website’s CMS — which, at first, will look just like your new website. Except now, you should see a grey bar across the bottom, with a simple form.

Then, just fill in the required fields to create your account, and log in.

Now, your content management system should look just like your website — except there’s a toolbar with two browser-like tabs labeled Pages and Collections, plus a series of icons. I'll explain all that below.
For now, take a moment to bookmark this page so you can easily return to it later. In most browsers, you can bookmark a page by holding Command/Control + B.
Otherwise, you can always return to your site’s content management system by simply typing the URL, then adding /?edit to the end.
So if your website’s URL is yourwebsite.com, just go to yourwebsite.com/?edit to log in and start editing.
When you return to your site later, you may see a little pencil icon in the lower right, which you can click to hop into your CMS. Rest assured that only those with access to the CMS will see this icon!
With the basics out of the way, let's dig into the CMS itself.
